Calibration
The four-step calibration that maps your projector and camera to the table — and how to keep it accurate.
Calibration teaches FusionCue two things: where your projector paints on the cloth, and where your camera sees the table. Once both maps exist, everything else — placement markers, scoring, the bullseye in Poolseye — lands exactly where it should.
You'll find it under Settings → Calibration. The top of the page shows your current status (Calibrated / Never calibrated) and a Calibrate / Recalibrate button, plus the full video walkthrough.
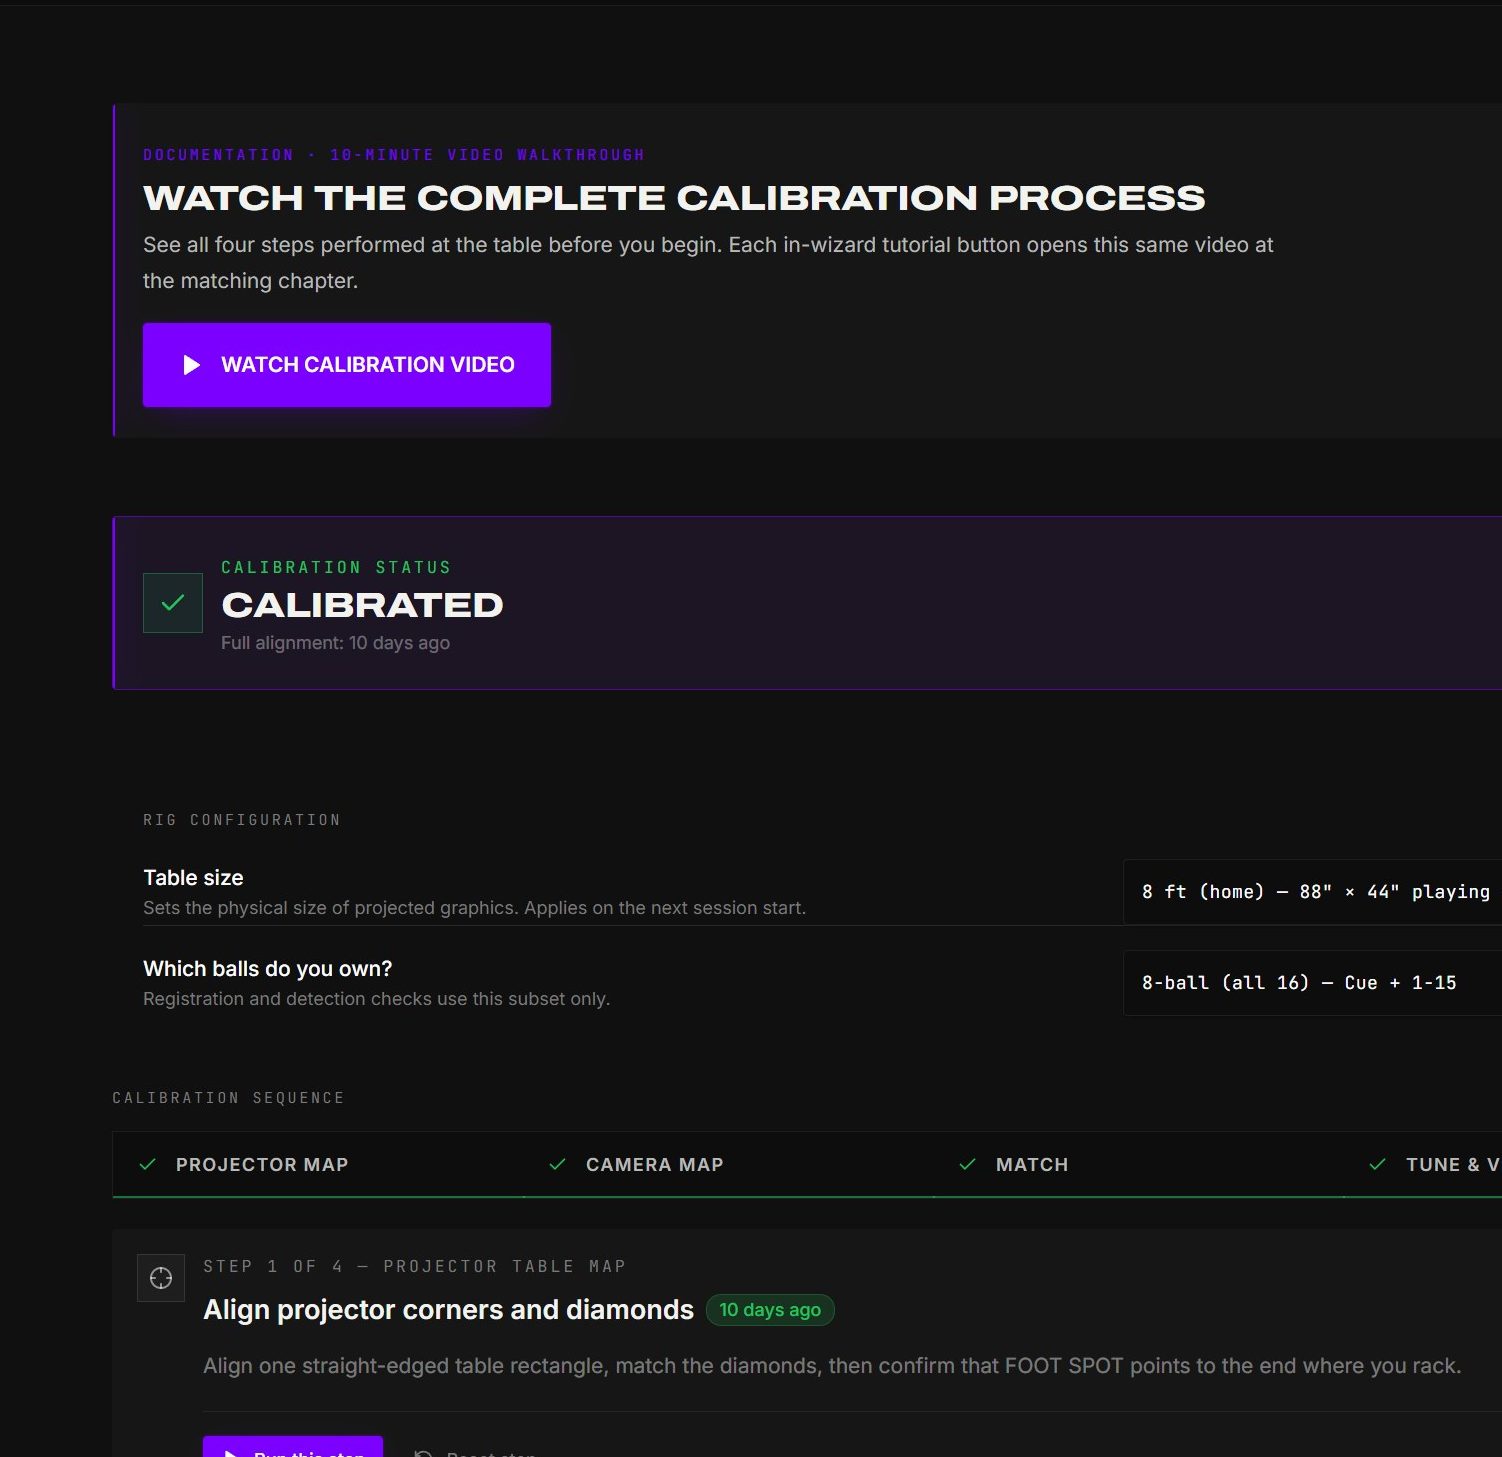 The overview keeps rig size, ball set, saved status, and all four steps visible before you start.
Watch the full walkthrough — See the complete 10-minute calibration process on YouTube. Jump directly to Step 1 — 0:00, Step 2 — 4:37, Step 3 — 5:27, or Step 4 — 6:26.
Do this first — set your rig configuration above the steps: Table size (7 ft bar box, 8 ft home, 9 ft tournament, or 12 ft snooker) and Ball set (8-ball all 16, 9-ball, or 10-ball). Detection checks use this ball subset.
The four steps
Calibration is a sequence of four guided steps. Run them in order the first time; afterwards you can re-run any single step.
Step 1 of 4 — Align projector corners and diamonds
The projector displays a table rectangle with corner handles. At the table, drag the four corners so every straight edge follows a cushion nose, then align the diamond references using the projected guides (or choose No diamonds if your table has none). Before saving, confirm that FOOT SPOT points to the end where you rack.
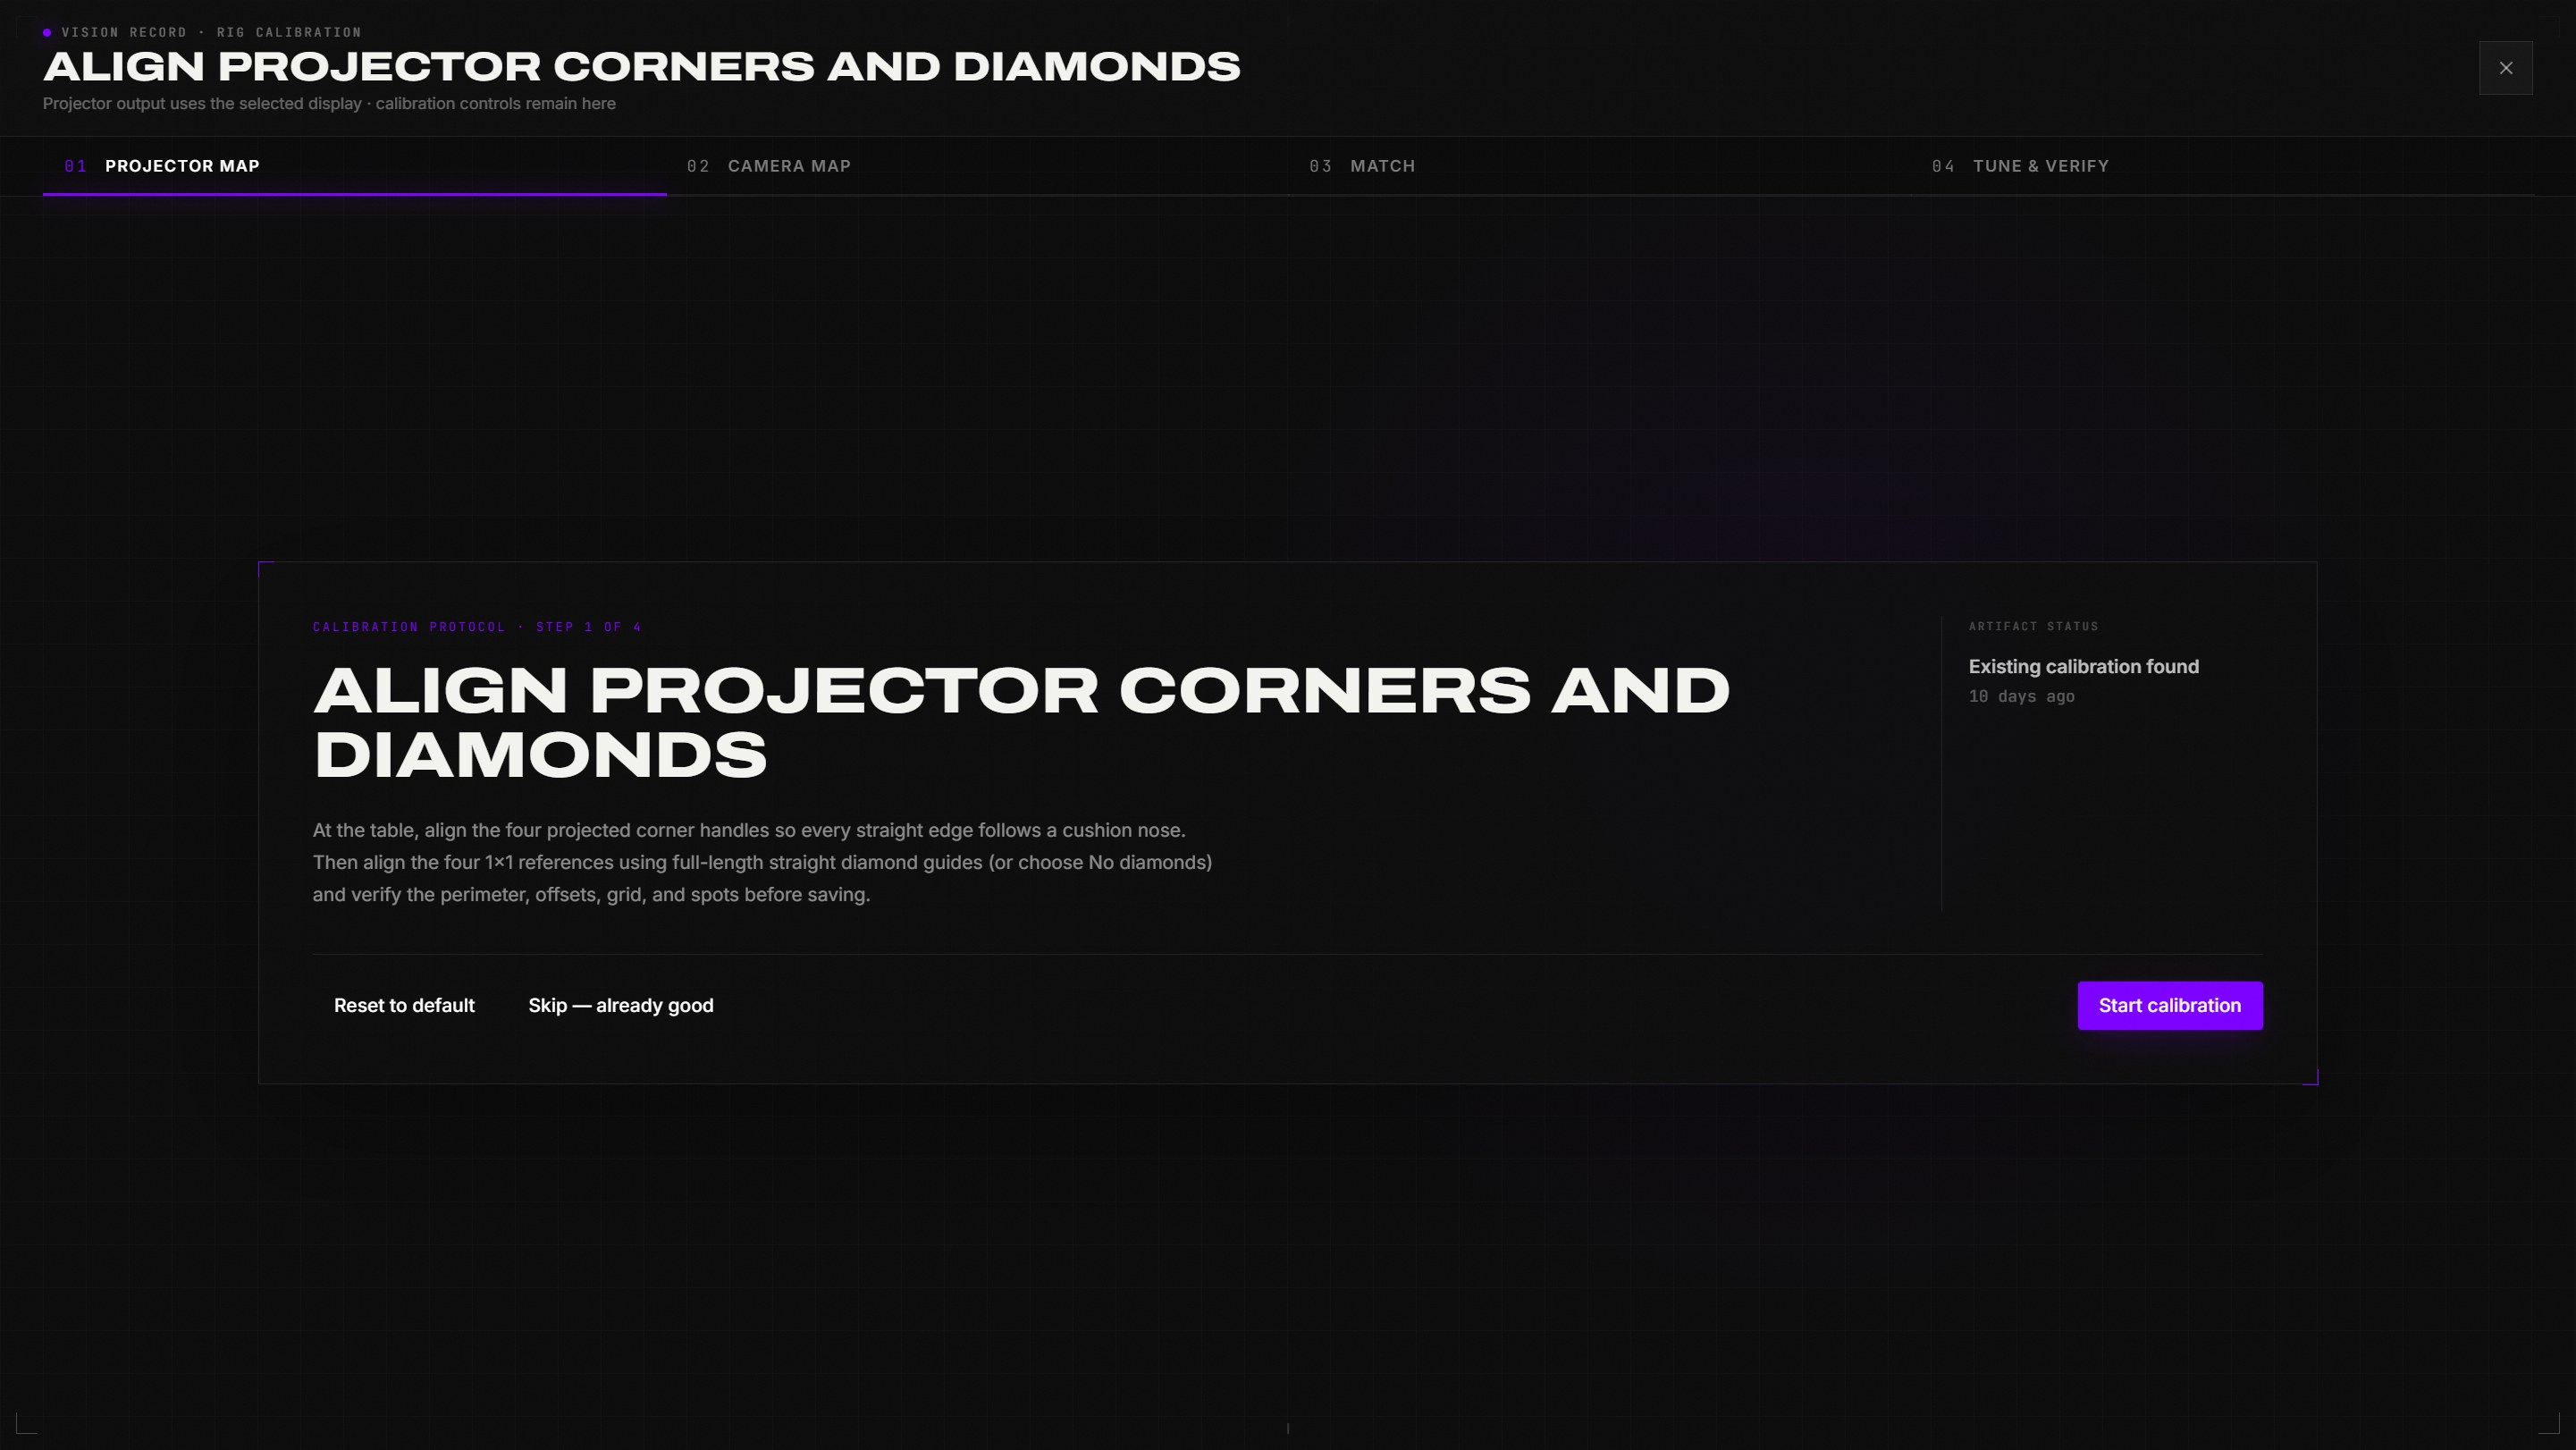 Step 1 opens with the exact projector-alignment protocol and the saved-artifact status.
Step 2 of 4 — Mark each pocket
You'll see your live camera feed. Click the center of each pocket hole (the dark opening) — each click places the next pocket automatically, following the highlighted dot on the mini table. Drag a marker to fine-tune, use arrow keys to nudge, and adjust the radius slider to match your pocket opening. Then Save.
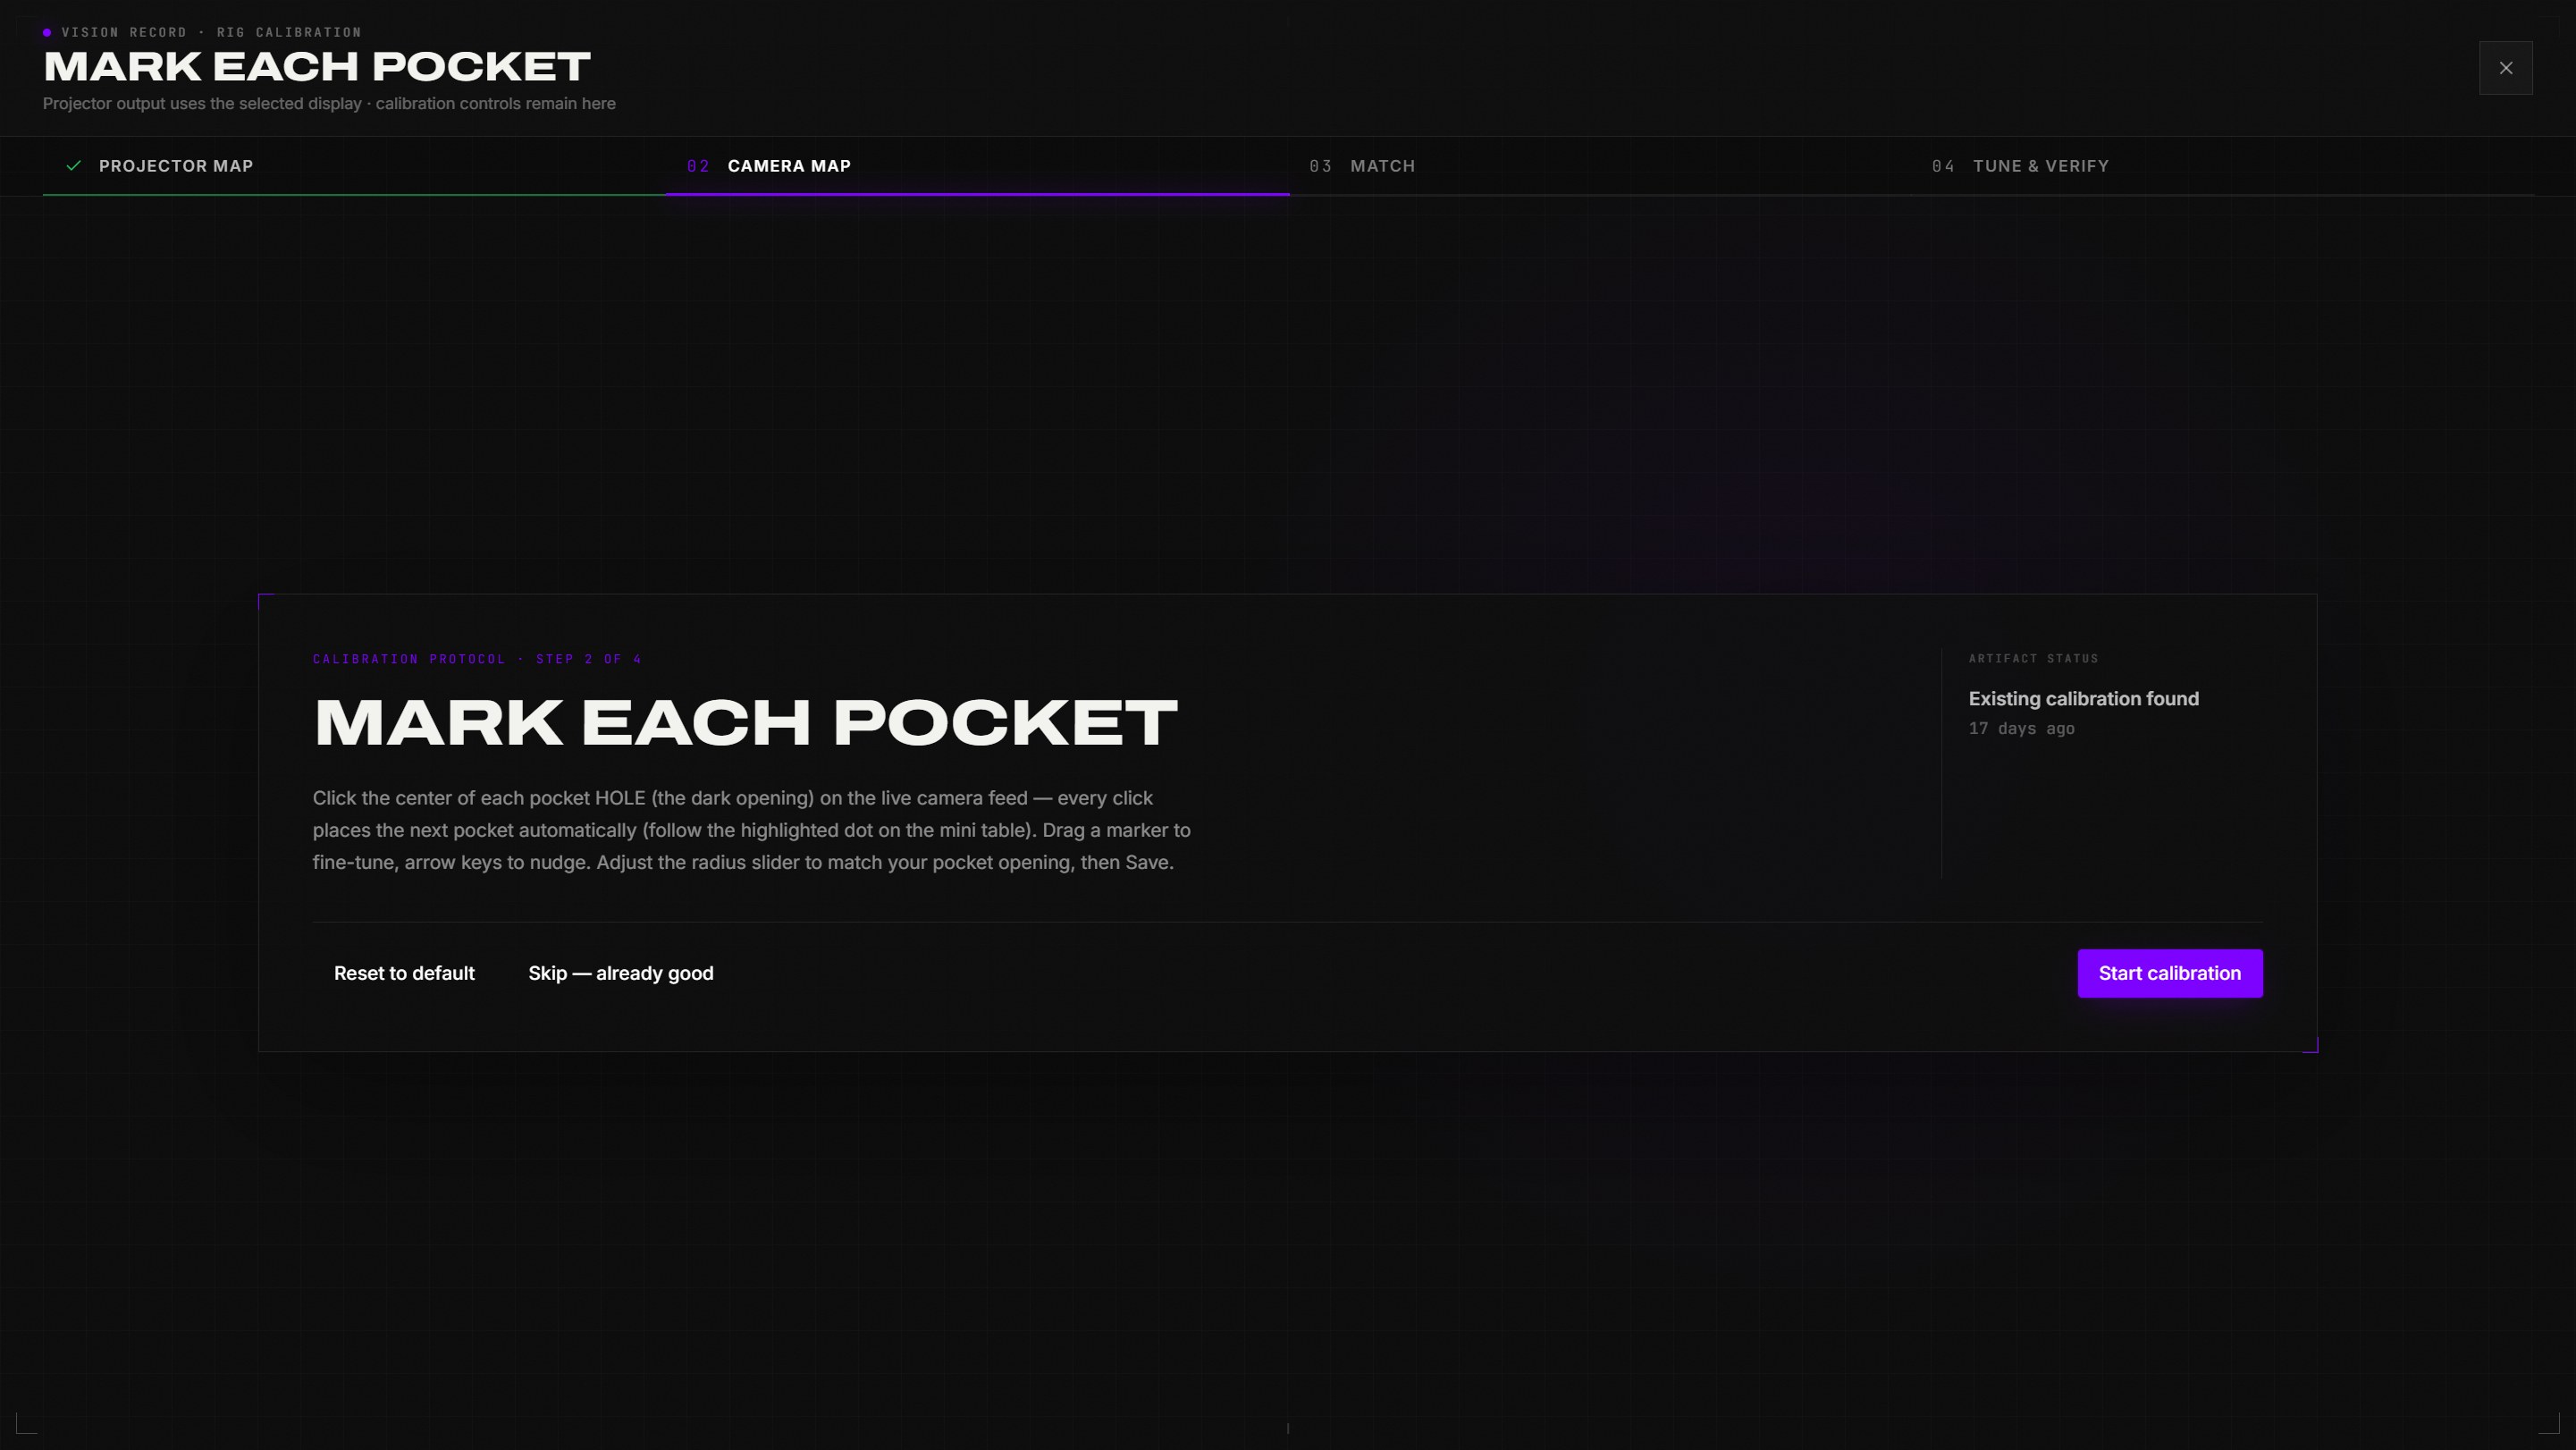 Step 2 identifies the pocket-hole target, click order, marker controls, and radius adjustment before the camera opens.
Saving also measures your lens. A wide-angle camera bows the rails (barrel distortion), which would put positions along the rails off by up to half a ball. FusionCue fits the correction from your six pocket clicks and straightens every frame from then on — the live view, detection, recordings and streams all use the corrected image. Cameras that are already straight are left alone. Step 4 shows the result and has a strength slider if you want to trim it by eye. Only an unmistakable barrel is switched on automatically: on a straight camera, a few centimetres of side-pocket geometry can look like a mild lens to six clicks, so a weak fit is kept at 0% and the tune step says so — drag the slider to test it, 0% is the raw image.
If your camera sits unusually low or high, also set Settings → Hardware → Camera height above the felt (a tape measure from the cloth to the lens). Positions near the rails are corrected for the camera's viewing angle, and a measured height is more accurate than the estimate, especially on low mounts and wide lenses.
Step 3 of 4 — Match camera to projector
This step makes sure the camera and projector agree on which end is which. Place a ball that contrasts well with your felt (a dark solid like the 8-ball is easiest on light cloth) on the bright projected marker at the foot spot, then click Check placement. Confirm any 180° swap, then move the same ball to one off-center marker for a final mirror-safe check. The badge reads Ends matched when you're done.
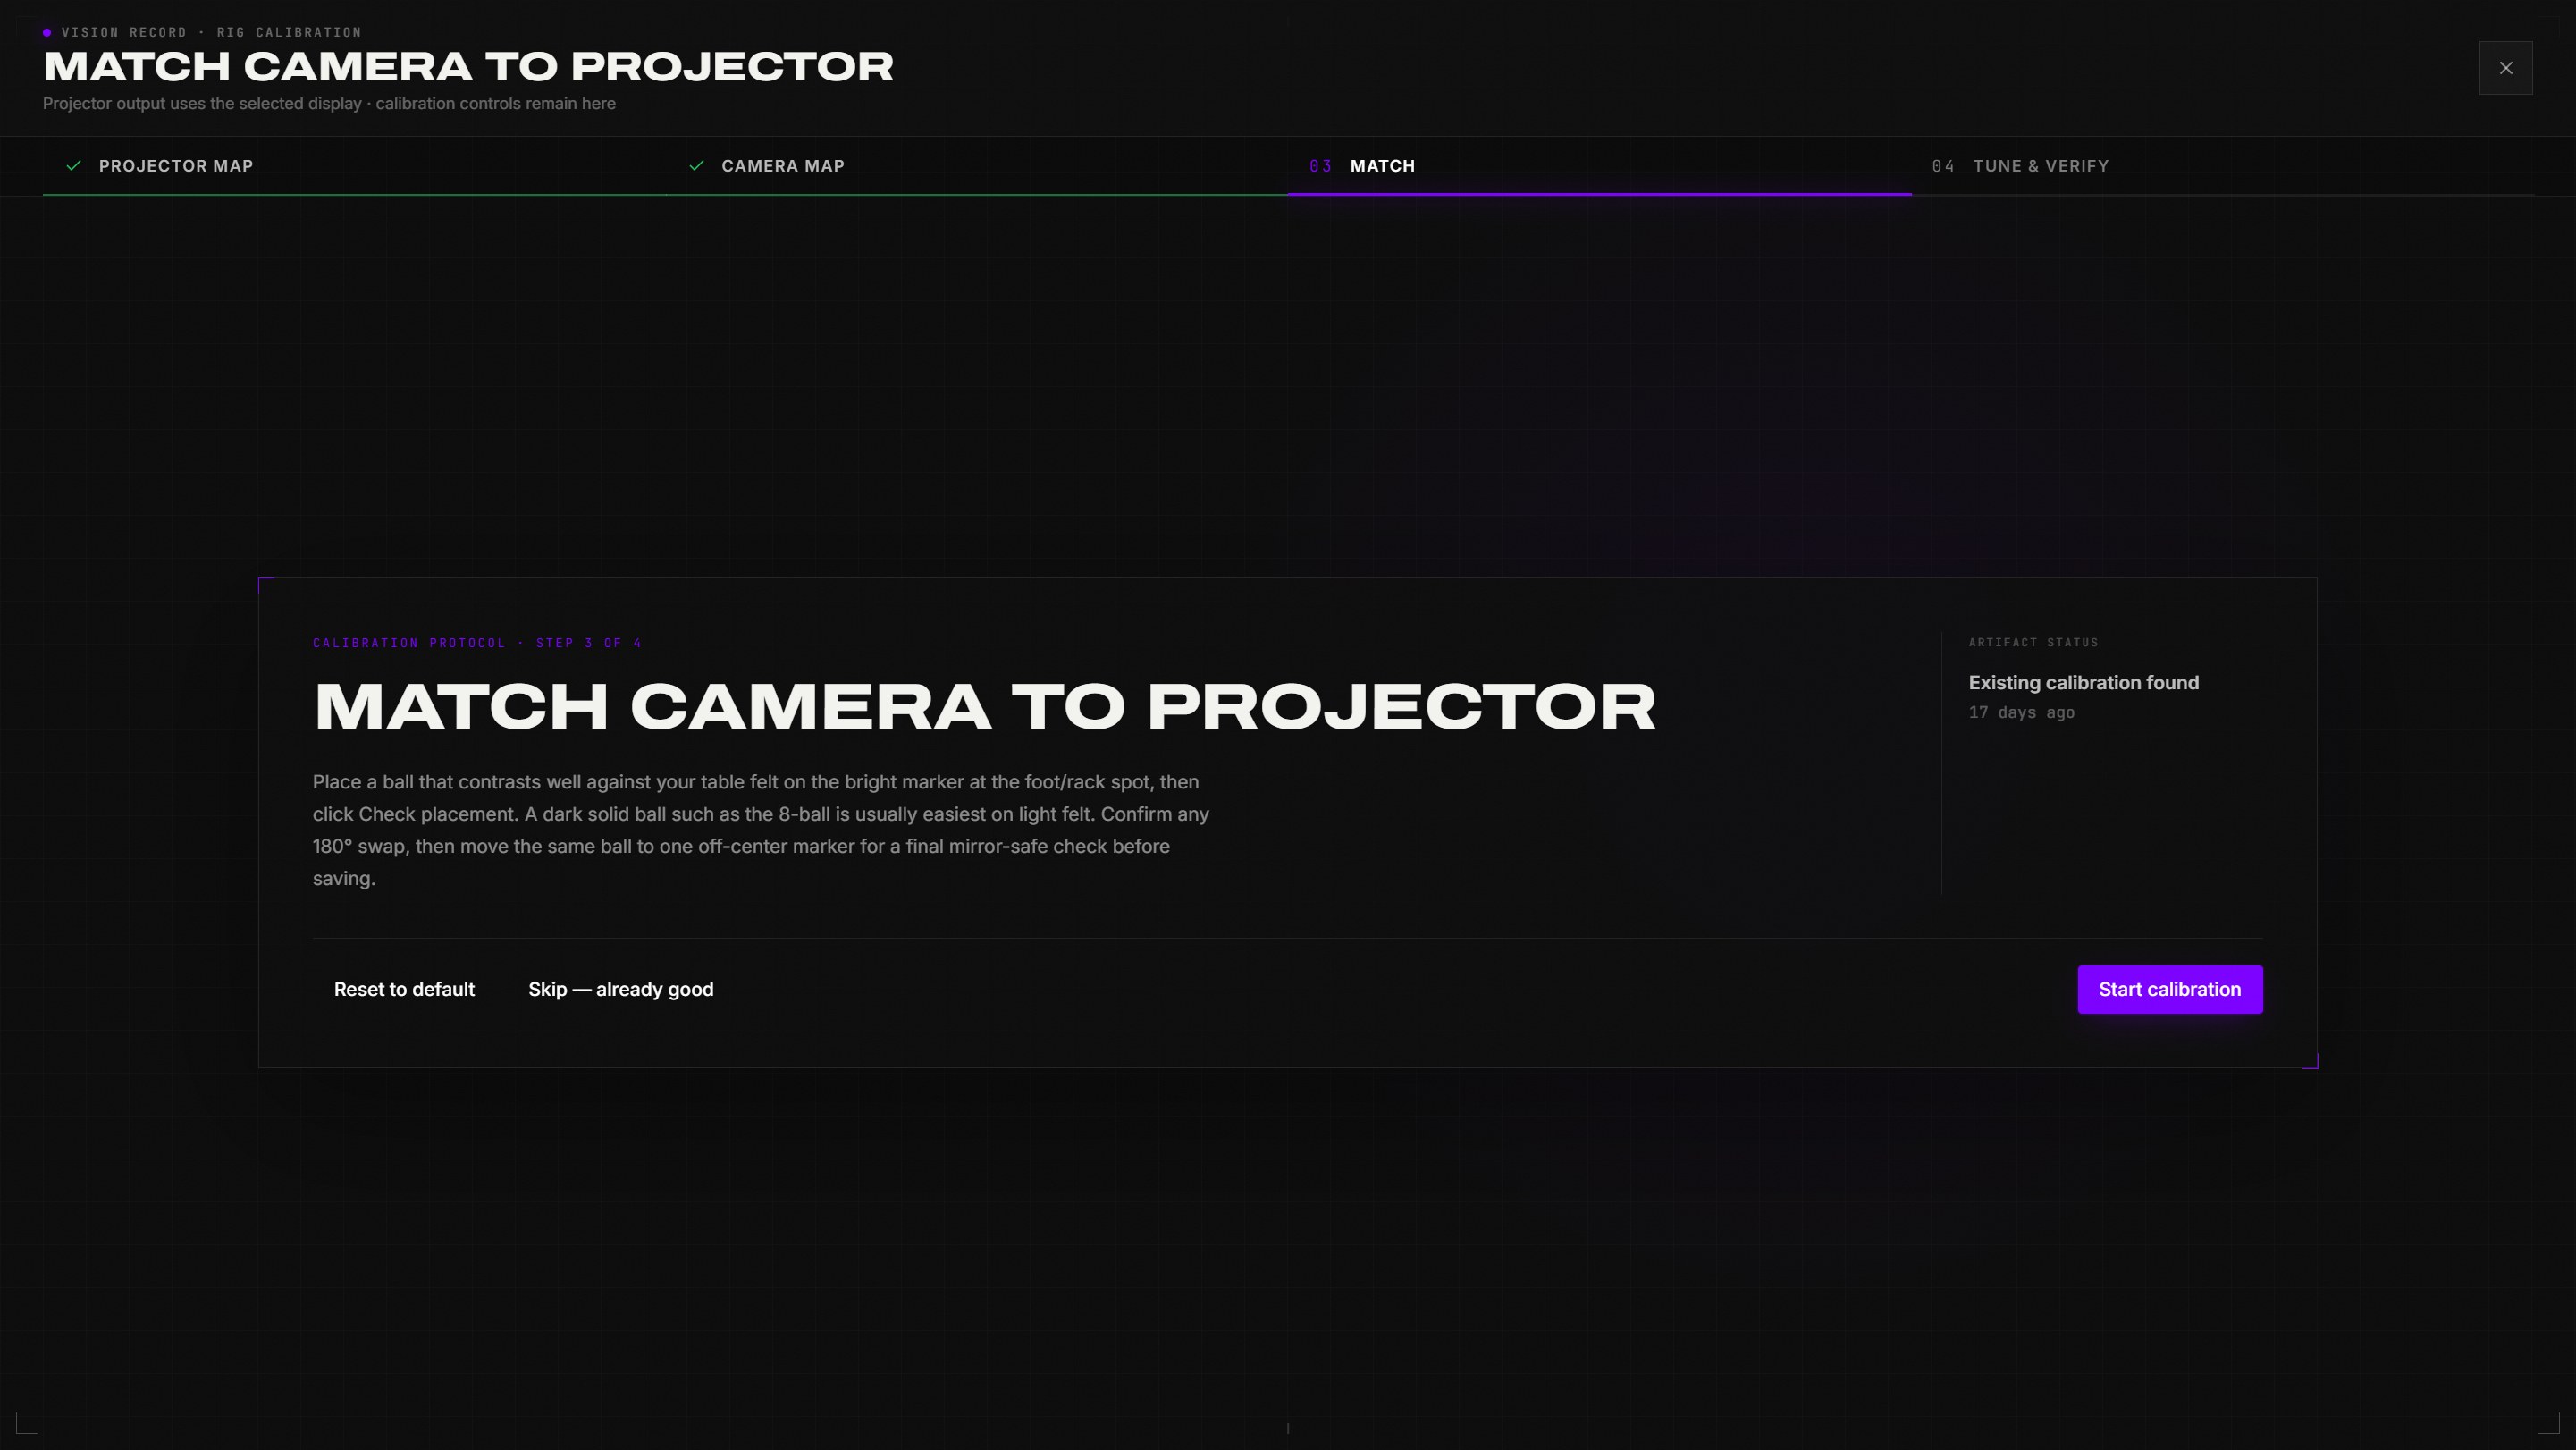 Step 3 explains the center and off-center checks that prevent a mirrored table from passing.
Step 4 of 4 — Tune camera and verify detection
Keep the live table image visible while you adjust color, exposure, and focus. Then place the cue ball, yellow 1, striped 9, and black 8 on the projected markers and run the detector check — or, if you're signed in and online, let AI Auto-tune do the tuning for you. Step 4 verifies the ball model selected in Settings and never changes that selection. FusionCue reads the selected camera/backend's actual capabilities and disables controls it cannot apply; software temperature remains available even when the camera exposes no hardware color controls.
A long manual exposure caps the camera's frame rate: a sensor cannot deliver more than one frame per exposure, so 1/16 s means 16 fps no matter how fast the PC is. Step 4 warns under the exposure slider when your setting would hold the camera under 30 fps, and the in-session FPS readout turns amber below 20. Fix brightness with gain or more light, not a longer exposure.
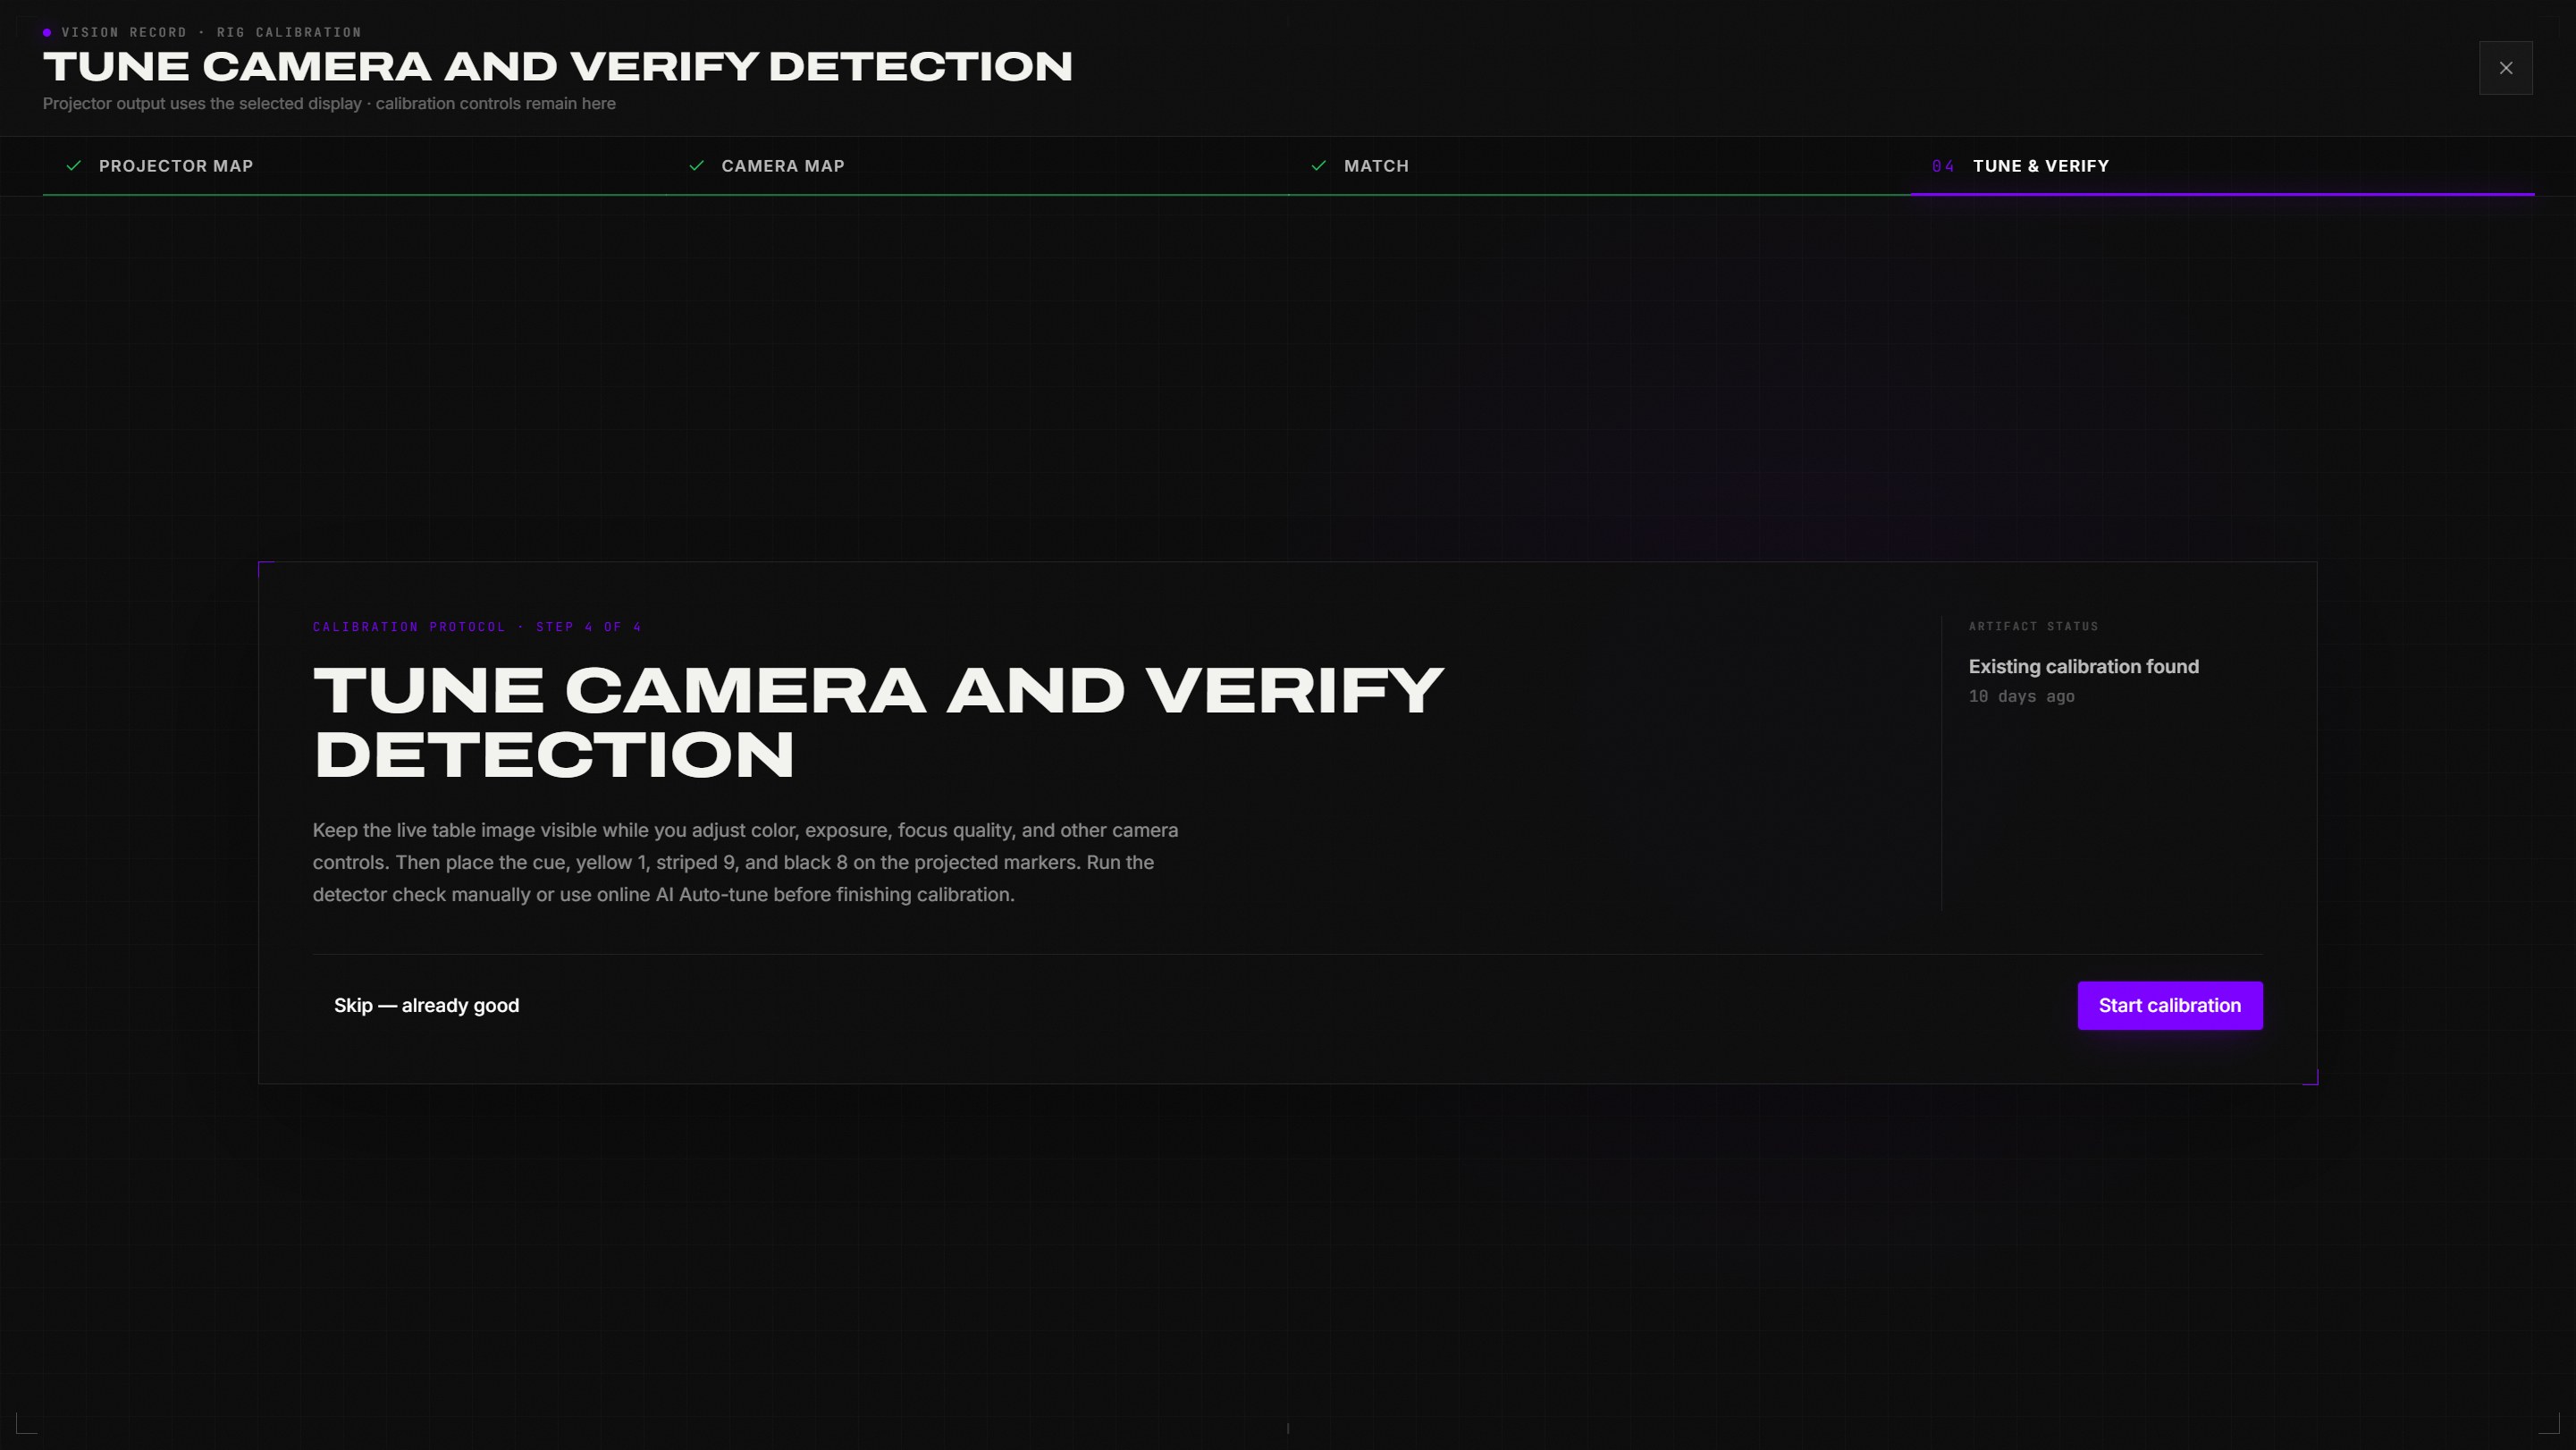 Step 4 names the four verification balls and keeps manual tuning and AI Auto-tune in the same flow.
Teach FusionCue your balls (optional)
Ball sets differ: a pale-yellow 9, an orange that reads close to red, a worn 5. Teach FusionCue your balls shows FusionCue your own set under your own light, so games that need ball numbers (Instant Recall, 9-Ball, 8-Ball) name every ball correctly. It sits on its own row on the Calibration page and takes about 3 minutes. The first time you start one of those games on a table that hasn't been taught, FusionCue offers it once. Not now is remembered on that PC.
- Camera check — FusionCue confirms the camera can see the balls clearly.
- Place every ball on its number — the projector paints a numbered spot for each ball. When every ball sits on its spot, press Capture (S).
- Turn every ball — about a third of a turn, same spot, then capture again. You do this twice, so FusionCue sees each ball from several sides.
- Scatter the balls — roll them slowly to new places around the table.
- Result — each ball's recognition before and now, plus any pairs that look alike on your table.
Re-run it after you change ball sets, cloth, or table lighting.
On the result screen, and under Settings → Privacy, you can choose to Share ball pictures to improve recognition. It is off unless you turn it on. Only small pictures of single balls are sent, while you aren't playing. See the Privacy Policy.
Automatic alignment at every session start
Each time a session starts, the projector goes dark for a moment, then shows a grid of white dots on the cloth. The camera finds the dots and fine-tunes where the projector draws, so markers, paths, and targets land where the camera sees the table. It's automatic, takes a few seconds at most, and needs nothing from you — balls on the table are fine.
If the camera can't see enough of the dots, FusionCue keeps the last good alignment and the session starts as usual. The automatic step only trims small drift and never changes your saved calibration: after moving the projector or camera, recalibrate.
When to recalibrate
- You moved the camera, the projector, or the table — even slightly.
- Placement markers stop lining up with where balls actually sit.
- You changed room lighting significantly (re-run step 4 at minimum).
Each step has its own Reset to defaults, and a Reset everything row at the bottom (click twice to confirm) wipes the lot for a fresh start.
Re-run one step from its own card, or use the deliberately separate start-over control for a full reset.
Troubleshooting
- Ball lands neither at the marker nor the opposite end during step 3 — open Advanced recovery at the bottom of the calibration page. It has Camera orientation (rotate/un-mirror a sideways camera feed) and Projector orientation (the projector shows a "MAKE THIS TEXT READABLE" wordmark — click options until it reads correctly). After changing either, re-run all four steps.
- Balls won't register on lit markers, or the cue ball reads as the yellow 1 — your projector may be washing out detection. Turn down Projected overlay brightness in Settings → Hardware.
- Detection model missing during step 4 — the verify step needs the ball-detection model, which requires an active trial or license (see Installation). The app offers the download inline and never blocks you from finishing the visual checks.
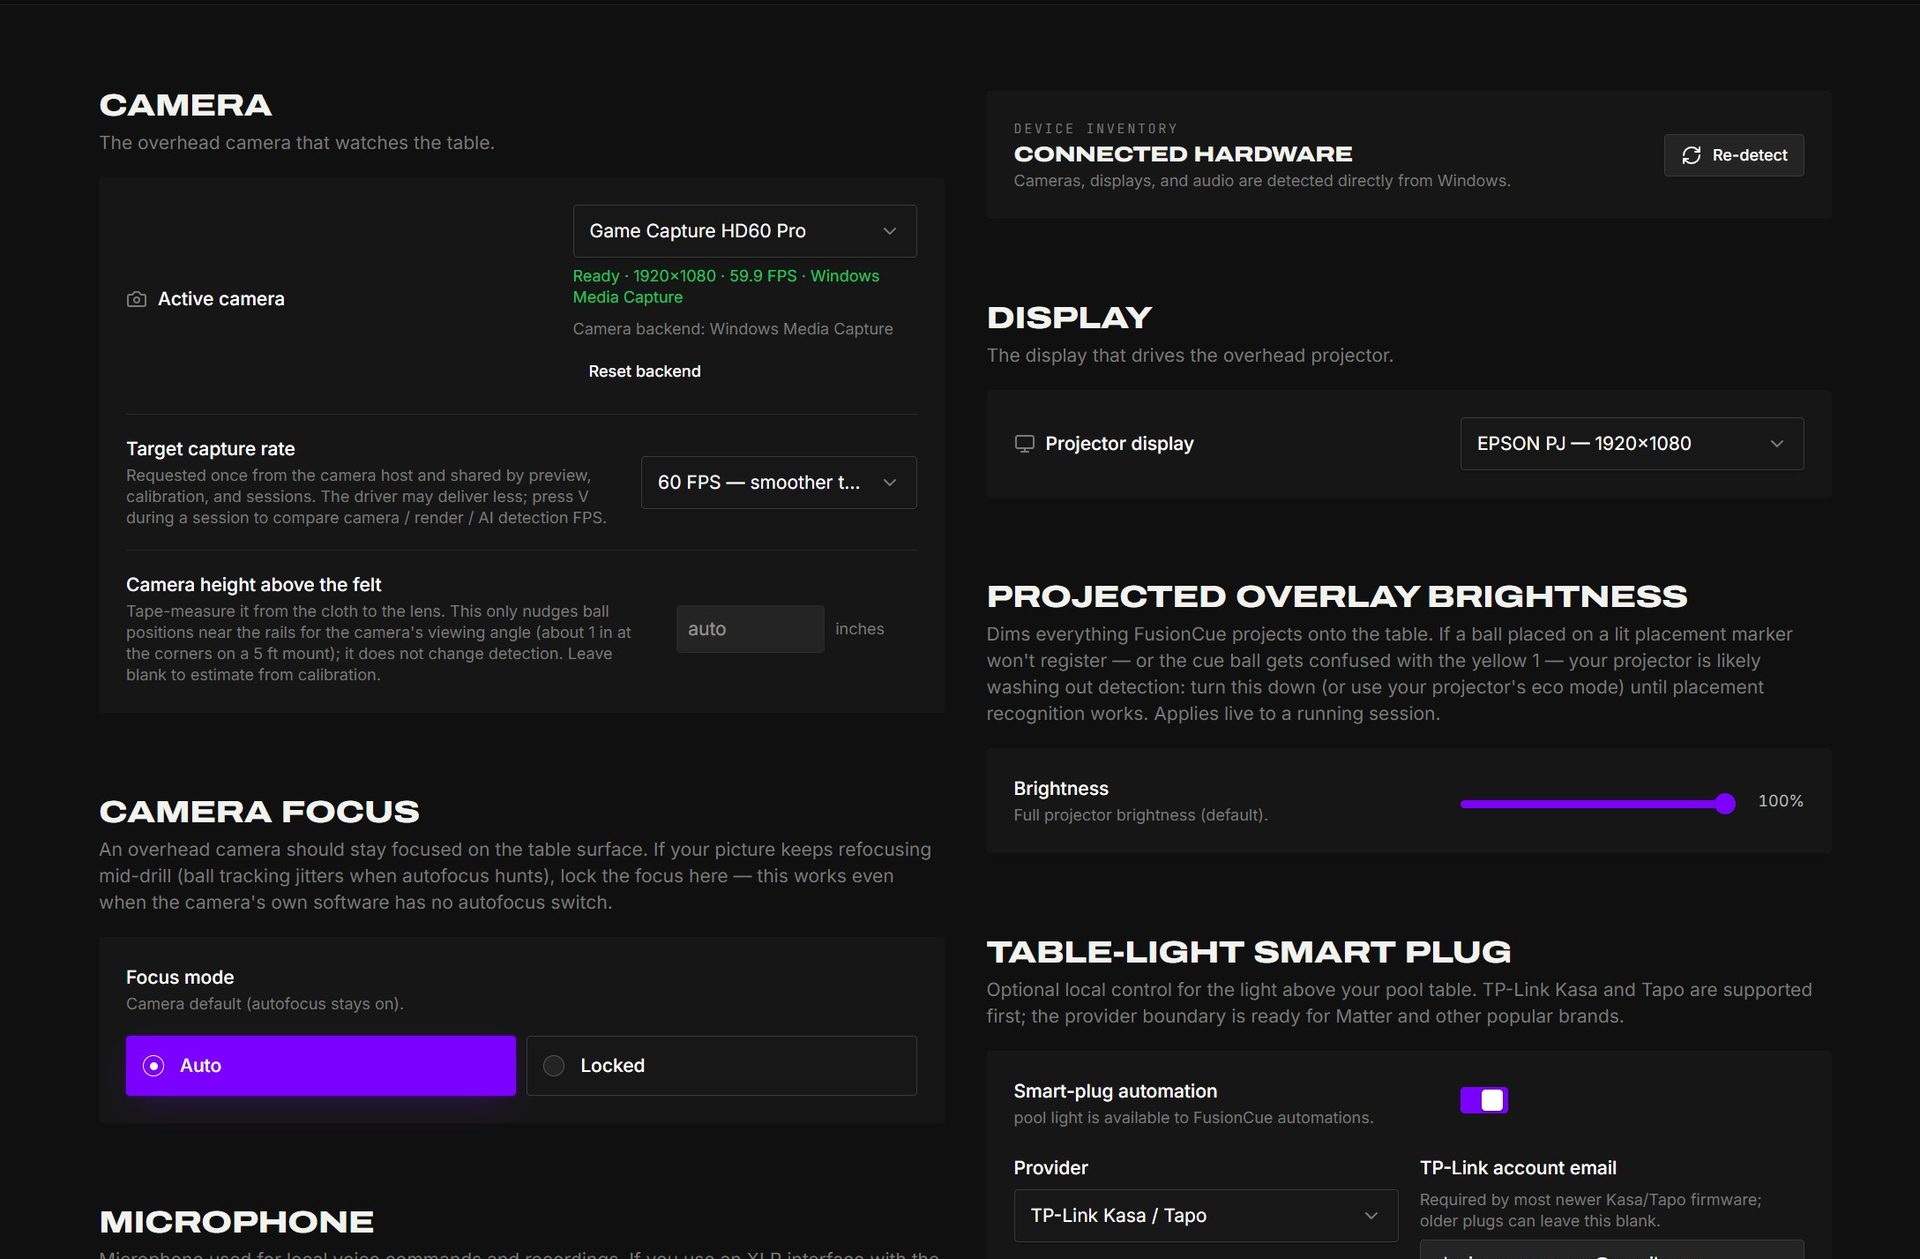 Most alignment problems start with the selected camera, projector display, focus, or projected brightness shown here.
Camera and image tuning live in Hardware
Day-to-day camera controls are under Settings → Hardware: camera and projector display selection, target capture rate, Camera focus (mode and distance), Camera image tuning (white balance lock, temperature, exposure, zoom), and Projected overlay brightness. Calibration step 4 picks these up automatically.
The Hardware page also shows which camera backend is driving your camera. FusionCue switches backends automatically if one stalls, and that choice sticks; if your frame rate dropped after a stall, use Reset backend to return to automatic selection and restart the camera.
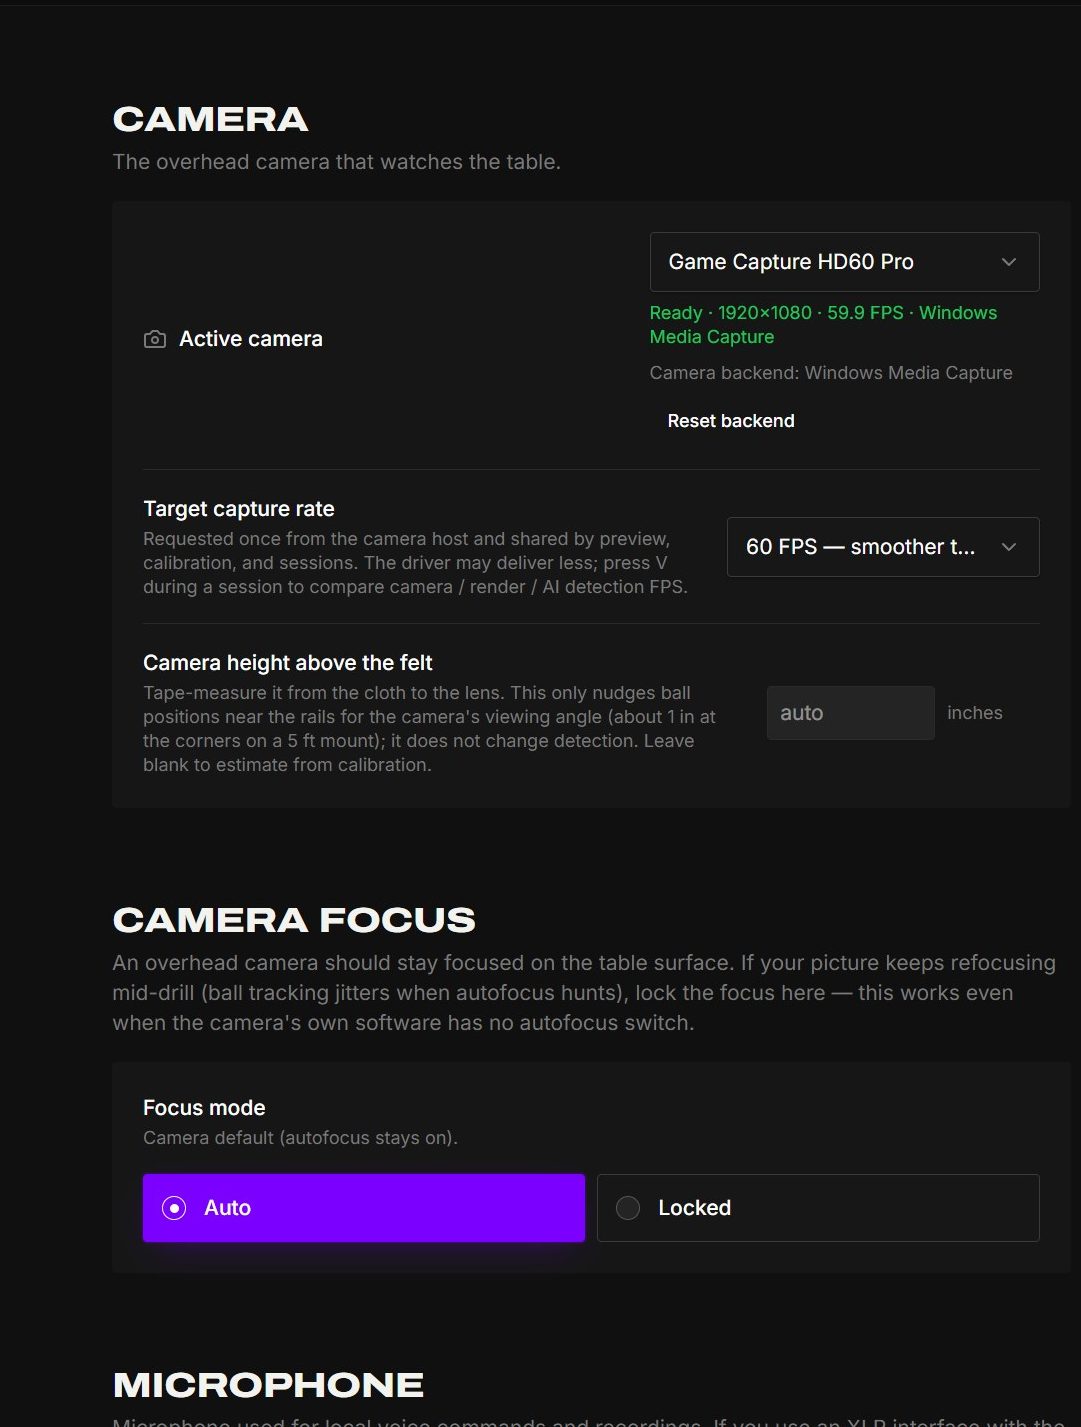 Settings → Hardware owns the day-to-day camera source, backend, frame-rate, focus, and image controls used by calibration.